What You'll Need
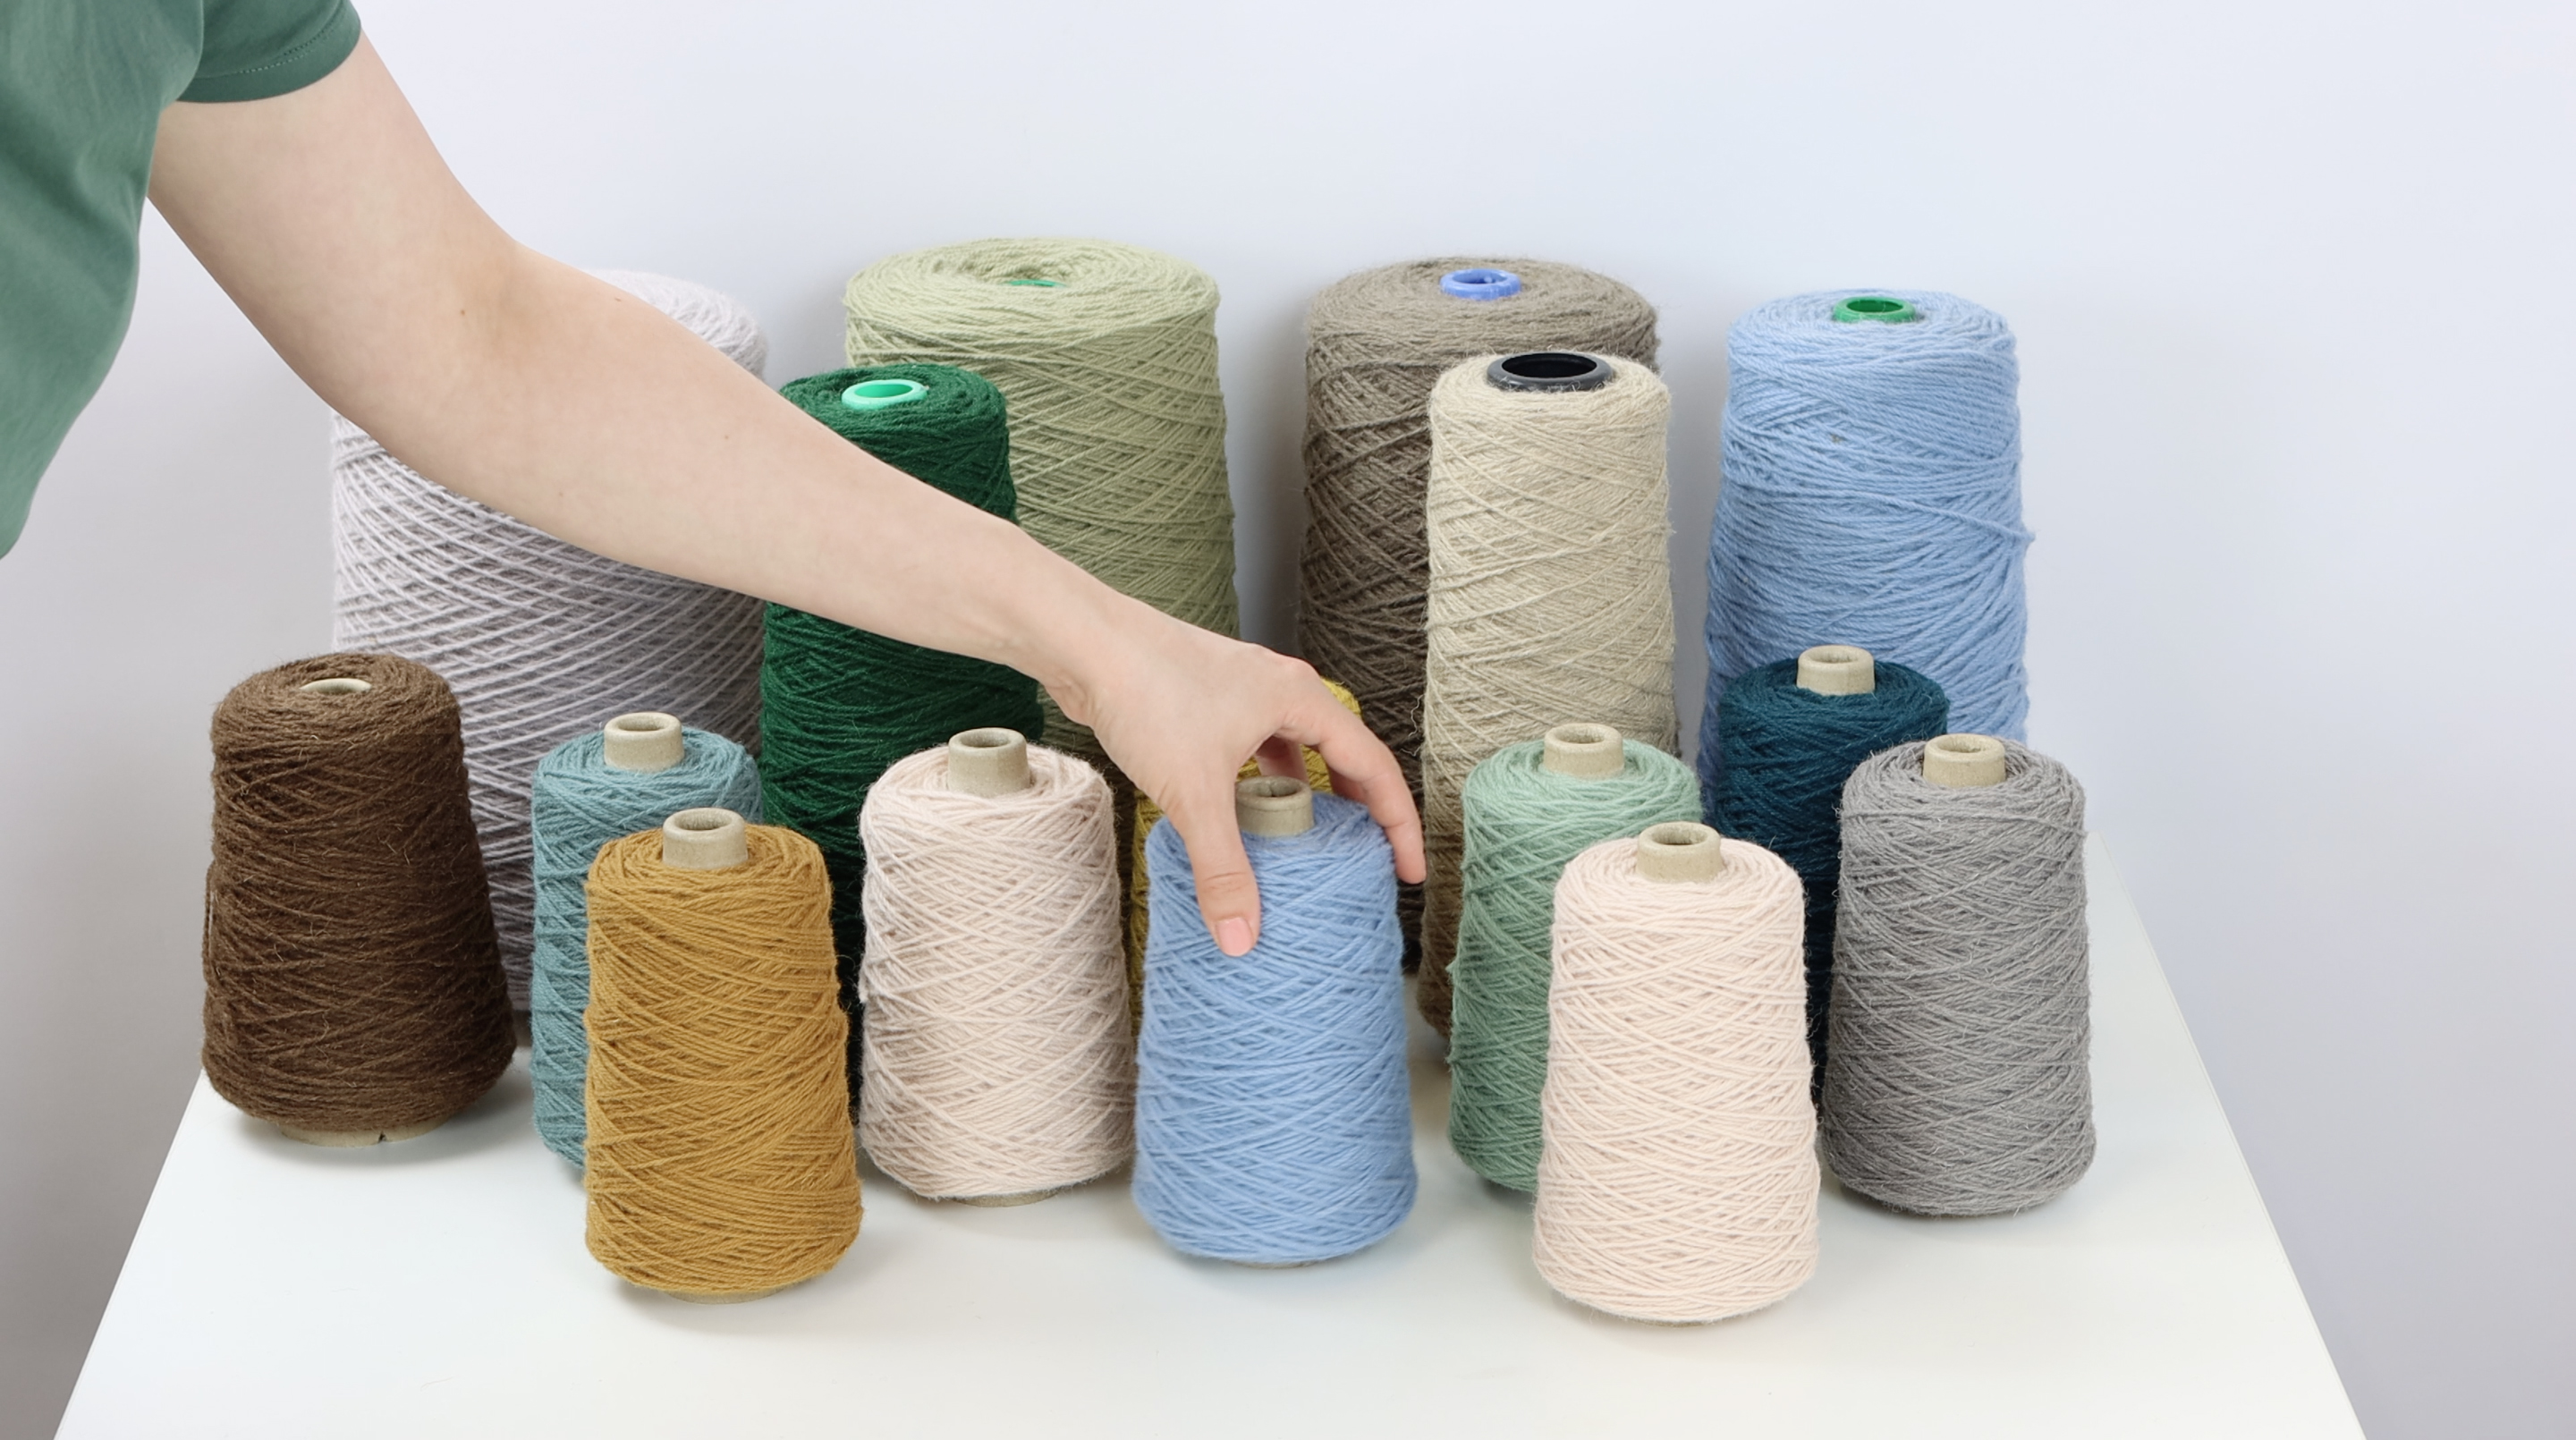
Here you can find the complete list of what you'll need for this class, and some further details about the rugs you'll be making!
The Rugs - The rugs I'll be weaving in this course will measure 24" x 36" or 61cm x 91cm - not including the fringe on the Module 3 and Module 4 rugs. Detailed templates for all 4 rugs can be found at the end of this section so you'll know what you'll be weaving ahead of time.
Floor Loom - the loom I am using throughout this course is a LeClerc Fanny II 4-shaft counterbalance loom. It is relatively lightweight and has a folding back beam. This course can work for floor looms with 2 or more shafts, and for table top looms as well. Please get in touch with me at students@christabelbalfour.com to discuss whether your floor loom is suitable for this course
Reed - I am using a 8dpi reed in this course, equivalent to a 30-35 dpcm metric reed. However, you can adapt a reed in the 4dpi - 12dpi range (16 dpcm - 50 dpcm in metric) for this course. Just bear in mind that anything closer spaced than 12dpi / 50dpcm will not be suitable. Your reed should be a minimum of 2 feet / 60cm wide.
Warping Board or Mill - To measure out your warp you will need a warping board large enough to wind a warp approximately 6 metres / 6.5 yards long. I am using the Ashford 11m Warping Frame in the course. If you have a warping mill you can use this as well!
Cross Sticks - These are two flat sticks with holes at each end, inserted into the cross in the warp to maintain tension. You can purchase them or make them yourself, in many cases they come with the loom.
Raddle & Clamps - You will need a raddle at least 60cm/2 feet wide and clamps to attach it onto the back beam. These can be purchased online but you can also make your own- instructions for this are included in Module 1.
Corrugated Cardboard - This will wind onto the warp beam in between the layers of warp keeping them flat and level. If you can't get cardboard, butchers paper will do as well. I recommend ordering a 10m roll approximately 75cm/2.5 feet wide.
Warp Yarn - I am using a N/M 6/6 linen warp in this course. This is equivalent to an 8/5 linen warp in the US and EU. You can also opt to use a cotton or even a wool warp for your rug. I am using approximately 1200 metres / 1312 yards of warp on my loom, but you can make a shorter warp and use less. Head to the next page for advice on calculating how much warp you will need.
Weft Yarn - You'll need a good supply of sturdy rug yarn for this course, in a range of colours. I am using a range of Axminster rug yarns that are between 8 and 14 WPI, roughly equivalent to 4ply, DK or Aran yarn weights (Sport, DK or Worsted weights, if you're in the US). I will be weaving 4 rugs. Each one is 3-4 colours and requires roughly 940 metres or 1028 yards of weft yarn.
Warping Tools - A sleying hook for threading the warp through the heddles and the reed, and lengths of brightly coloured yarn to tie up your warp chains with.
Weaving Tools - You'll need a selection of long and short shuttles, a bobbin and a comb. The shuttles will carry the weft through the warp while weaving. The bobbin will be used to position and adjust the warp and weft, especially at the selvedges, and the the comb will be used to pack down the weft over the warp in addition to the reed.
Additional Tools - along with the tools listed above you will also need:
A pair of sharp sewing scissors or fabric shears for cutting and trimming
A tapestry needle for stitching in loose ends
A cutting mat and rotary fabric cutter for trimming the loose ends of the warp to make a fringe
Large sheets of paper or cardboard to make circle templates for the rug in Module 5
A sewing needle, sewing pins and colour matched thread to sew the hem of the rug in Module 5